Tiling basics: what to ask and what to look at
The Abimeister team · Updated · 3 min read
A mistake in tiling usually does not show at once: the adhesive sets, the grout tidies everything up and it all looks handsome. The difference appears when a tile starts to sound hollow or the grout cracks. These checks you can do yourself, and they take five minutes.
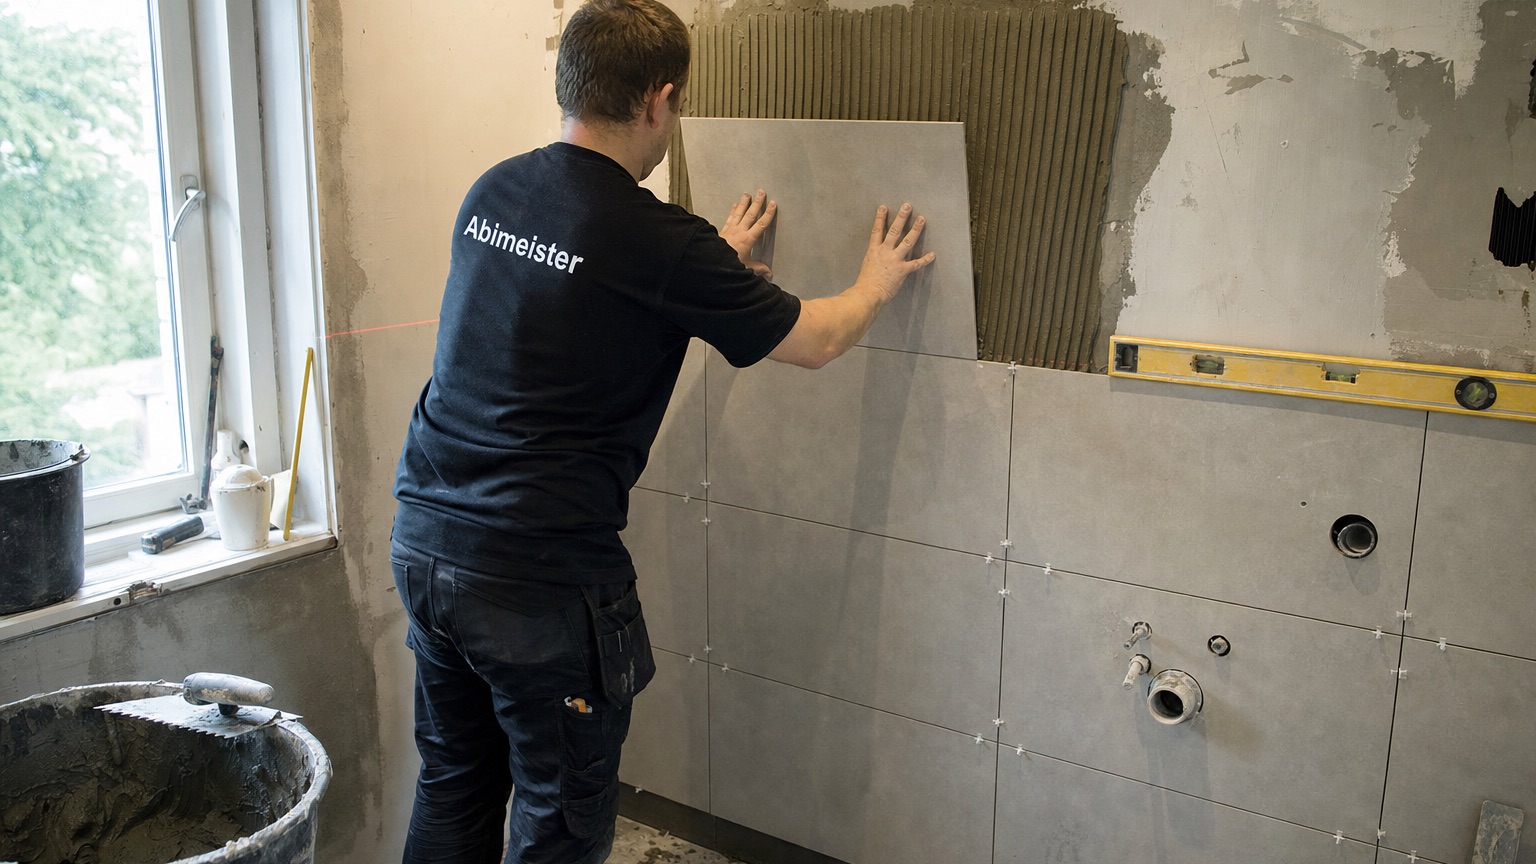
The substrate decides everything
Ask what was done before tiling. Old tile off, wall levelled, primed — that is the right answer. 'We put the new tile over the old one' is the answer that means somebody saved two days and you lose ten years.
Tanking in a wet room has to be done before the tile, and you can only verify it by asking. Request a photo: tanking is a visibly coloured layer, usually blue or grey, and it must cover the floor and run up the wall.
Five things you can check yourself
Knock on the tiles with a knuckle. A hollow sound means the adhesive does not fully cover the back of the tile — one hollow tile is tolerable, a whole row is not.
Look along the joints with your eye in the plane of the tile. A straight line shows; a wavy one shows even better. The same applies to corners: where two walls meet, the joint should continue.
- Joints are of even width and run straight
- Corners are siliconed, not filled with rigid grout
- No tile sounds hollow
- Cut tiles are in corners, not in the middle beside the door
- The floor falls towards the drain, not towards the wall
Corners and joints are what age
Internal and external corners take flexible silicone, not rigid grout. Wall and floor move relative to each other; rigid grout in a corner cracks within the first year, and then water gets behind.
Joint width depends on the tile: small formats want 2 mm, large formats 3 mm or more. Too narrow a joint on a large tile leaves no room for movement and the tile edge lifts.
Choosing tile: what actually differs
The price of a tile says nothing about whether it suits the job. Two numbers on the box say far more: water absorption and slip rating. A bathroom floor wants absorption under 3% and a slip class of at least R10; a living room needs considerably less.
The second thing to look at is calibration. Cheaper tile is often inconsistent in size, which means the joint has to be wider to hide the variation. If you want a 2 mm joint the tile has to be rectified — that is stated separately on the box and costs more.
The third decision is format. A large tile gives fewer joints and a calmer surface, but demands a very flat substrate and is harder in a small bathroom: every cut shows, precisely because there are so few of them.
- Water absorption under 3% for wet areas
- Slip class R10 minimum on a bathroom floor, R11 in the shower
- Rectified tile if you want a narrow joint
- One batch for the whole room — shade varies between batches
- 10% spare on a straight layout, 15% on a diagonal
Always ask for a photo of the tanking before tiling starts. Once the tile is on, nobody can prove it was done.